Reset switch broke on corne PCB - is this the right part to replace?
While reassembling my corne, the reset switch on my PCB broke off. It's more a convenience / completion thing (shorting the pins is easy enough and I don't replace firmware much). Is this part of Typeractive the correct part? https://typeractive.xyz/products/reset-button
For replacement, it looks like a surface mount component. So I'm guessing it's just a desolder and re-solder?
Typeractive.xyz
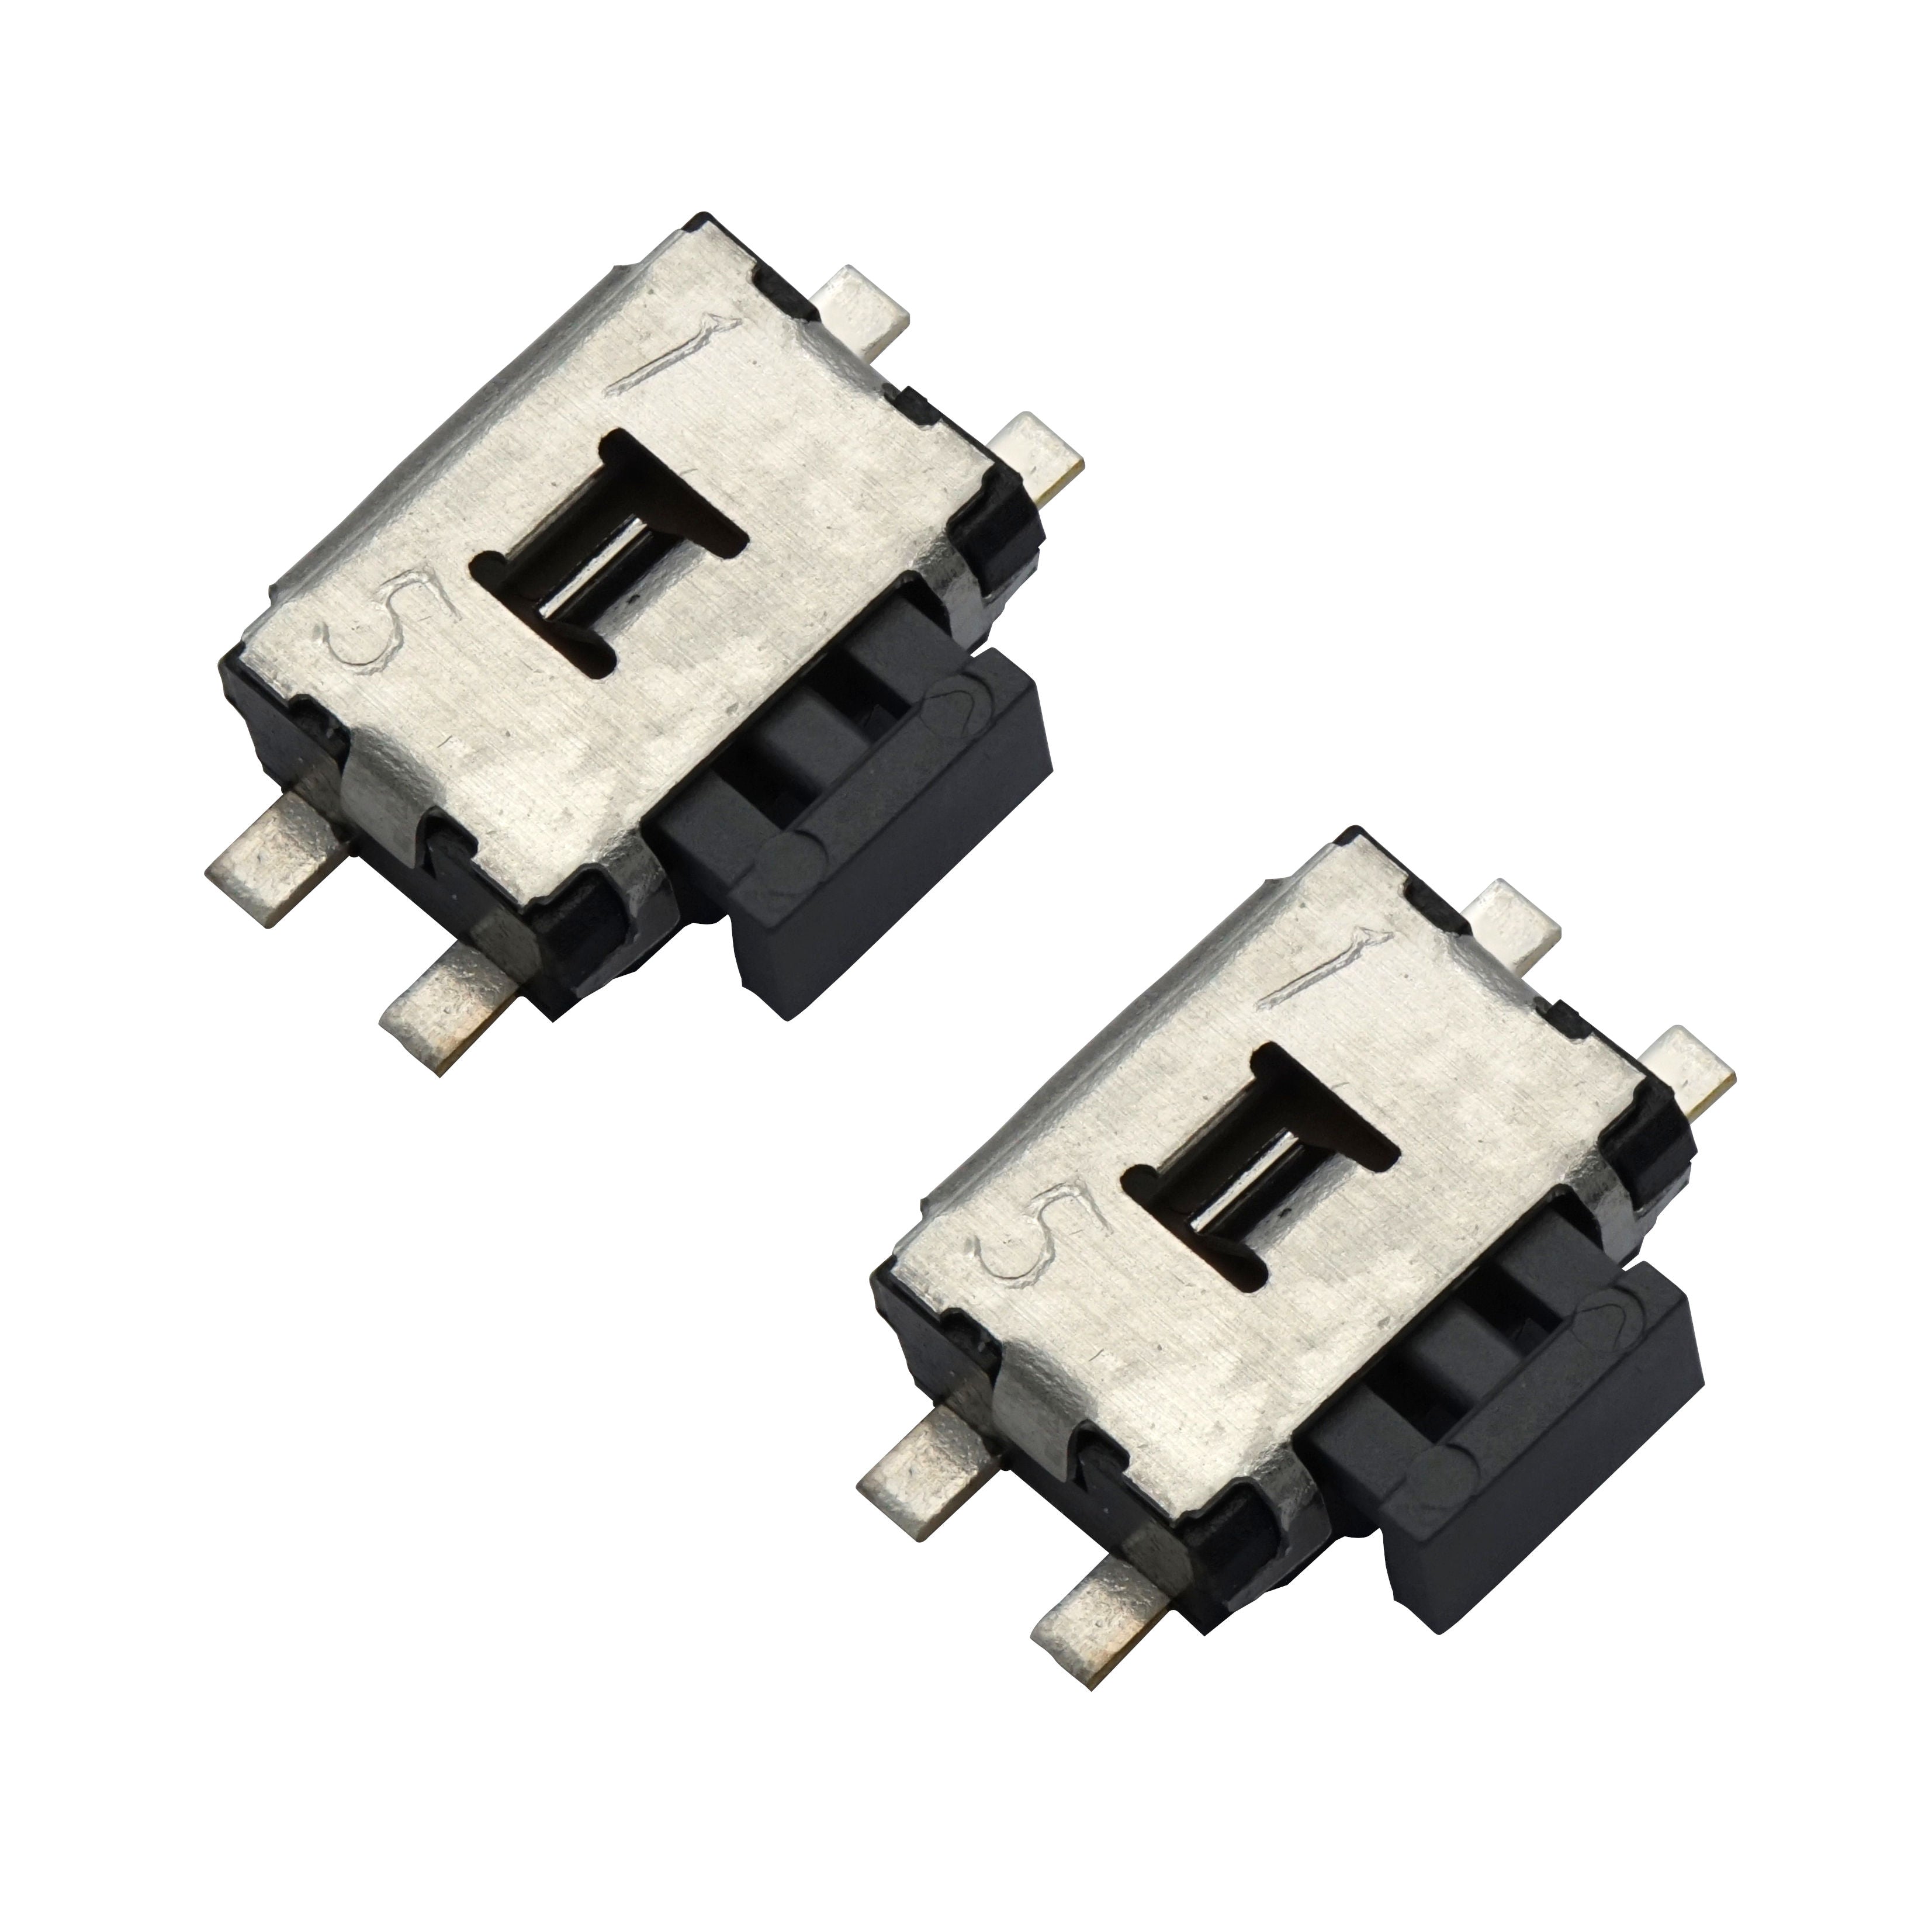
Reset Button
Original Panasonic miniature momentary button. This is the same reset button we use in our kits. 2 buttons per pack. Datasheet
1 Reply
Yes, the reset button you linked is the correct part for replacing the broken reset switch on your Corne PCB. It is indeed a surface mount component, so you will need to desolder the old switch and solder the new one in its place.
Here’s a brief overview of the process:
1. Desoldering: Use a soldering iron to heat the solder on the pins of the broken switch. You may want to use desoldering braid or a pump to remove the solder effectively.
2. Cleaning the Pads: Once the old switch is removed, ensure the pads on the PCB are clean and intact.
3. Soldering the New Switch: Position the new reset switch on the PCB, ensuring it aligns correctly with the pads. Heat the pins with your soldering iron and apply solder to secure it in place.
4. Testing: After soldering, test the switch to ensure it functions correctly.
If you're not experienced with soldering, consider reviewing a soldering guide to ensure a good connection. Good luck with your repair!