SECURE BOOT
im getting the secure boot issue and idk how to fix it ive done everything i can i cant get into bios either
Solution:Jump to solution
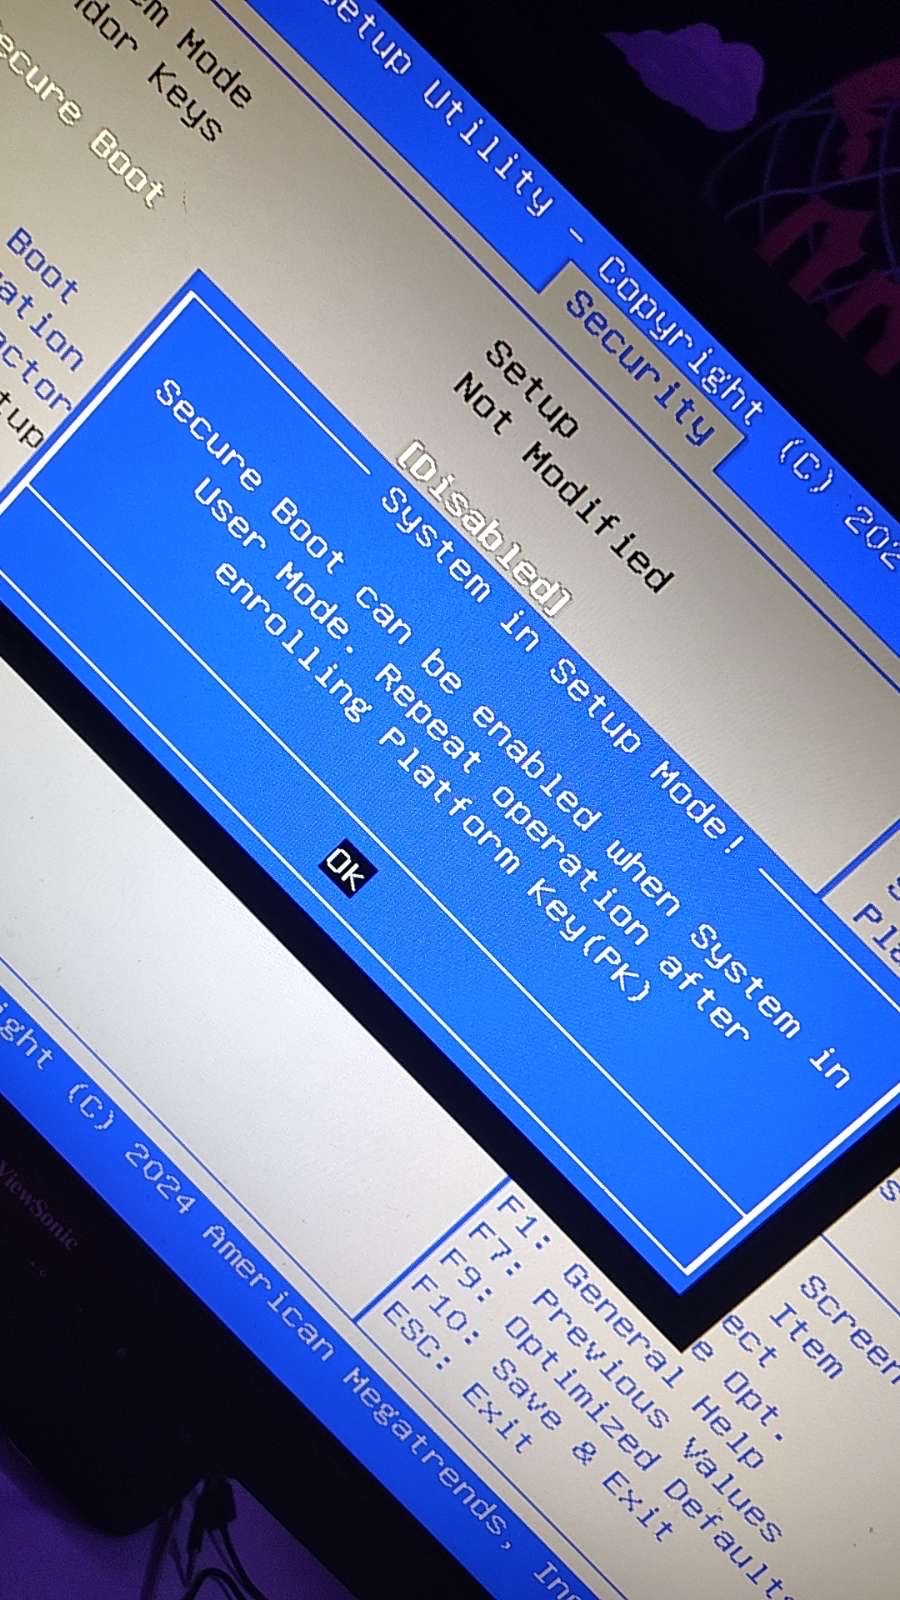
Secure Boot not enabled
:valExclamation: To verify Secure Boot is not enabled, press the Windows Key + R > type msinfo32 and hit enter > locate Secure Boot and BIOS Mode.
Look for BIOS Mode: UEFI and Secure Boot state: On
If it states it’s off do the following:...
9 Replies
;secureboot
Vanguard constantly crashing? Secure boot not enabled?
These steps should help with Secure Boot and TPM errors:
Before we start, please try uninstalling Vanguard, VALORANT, then Riot Games, and reinstall.
Alternatively, search for "TPM reset in Windows." If that doesn't work: Copy and paste this into CMD (Run as admin): IMPORTANT: Depending on your specific motherboard vendor, the setting location may vary. Look for:
- TPM
- Security Device Support
- PTT
- FTPM
- Intel Platform Trust Technology
These are usually located within CPU Configuration, Security, or Trusted Computing. Make sure these are enabled, along with TPM State. (You may need to select TPM 2.0. AMD users might need to enable NX Mode.) Set Secure Boot Mode to Standard. If after rebooting, Windows still shows Secure Boot as disabled, set Secure Boot Mode to Custom.
Press F10 to save and exit. If this doesn't work: Update your BIOS (you’ll need a USB for this). 1. Type "System Info" into Windows Search, and look for the BaseBoard Product - copy and paste it into Google.
2. Go to your motherboard’s support page and navigate to the Drivers/Downloads section. 3. Download the latest BIOS version. 4. Extract the download and place it onto your USB (make sure it’s FAT32). 5. Go to BIOS and paste this into CMD (Run as admin): Based on your motherboard vendor, follow these options: - MSI – MFLASH
- ASUS – EZ Flash Utility
- ASRock – Instant Flash
- Gigabyte – QFlash
Select the BIOS file and update. Your system may restart a few times. If this guide wasn’t detailed enough for your specific motherboard, search online for things like “How to update MSI BIOS” or “How to turn TPM on for MSI” for more detailed instructions. -# These solutions have been provided by COMPREADY:cr:.
Whoops, wrong command
;van9003
Solution
Secure Boot not enabled
:valExclamation: To verify Secure Boot is not enabled, press the Windows Key + R > type msinfo32 and hit enter > locate Secure Boot and BIOS Mode.
Look for BIOS Mode: UEFI and Secure Boot state: On
If it states it’s off do the following:
Go to Settings > Update and Security > Recovery > Restart Now > Advanced Options > UEFI Firmware Settings.
Navigate to the Security or Boot tab. Navigate the menu until you locate Secure Boot. Enable Secure boot. Save the changes and restart your PC.
-# These solution have been provided by COMPREADY:cr:
so is that what i do allat
alr nvm
If that doesn’t work then a more technically experienced user will probably step in and help
alright ill lyk ill try it
@cloohy what do i do w this
nvm i fixed it were good
it workas
thank you